Day 1 - #100DaysOfCode with Flutter
Transforming sample code to custom UI + Inspired Magic 🪄
Staying true to my words and goals in the last article, here I am, pumped up to get back into the coding zone.
D1 Objective: Transform existing sample code into custom UI
I don't want to get your hopes high with "custom UI", as I'm only transforming a Floating Action Button into an Elevated button. Not a big deal at all.
My guru, teacher and guide for today and the next couple of weeks is Fireship's Flutter and Firebase course. I love how the course is structured, and though I'm warned that it is fast-paced, I'm excited to dive into it.
The flow of today's project was quite simple:
Create a Flutter project with sample code on Android Studio
Understand what's happening in the sample code
Transform that code into a custom UI
Creating a Flutter Project & Sample Code
When a new Flutter project is created in Android Studio, it comes with a sample, ready-to-run mobile application. The UI is super neat, and the code is easy to understand.
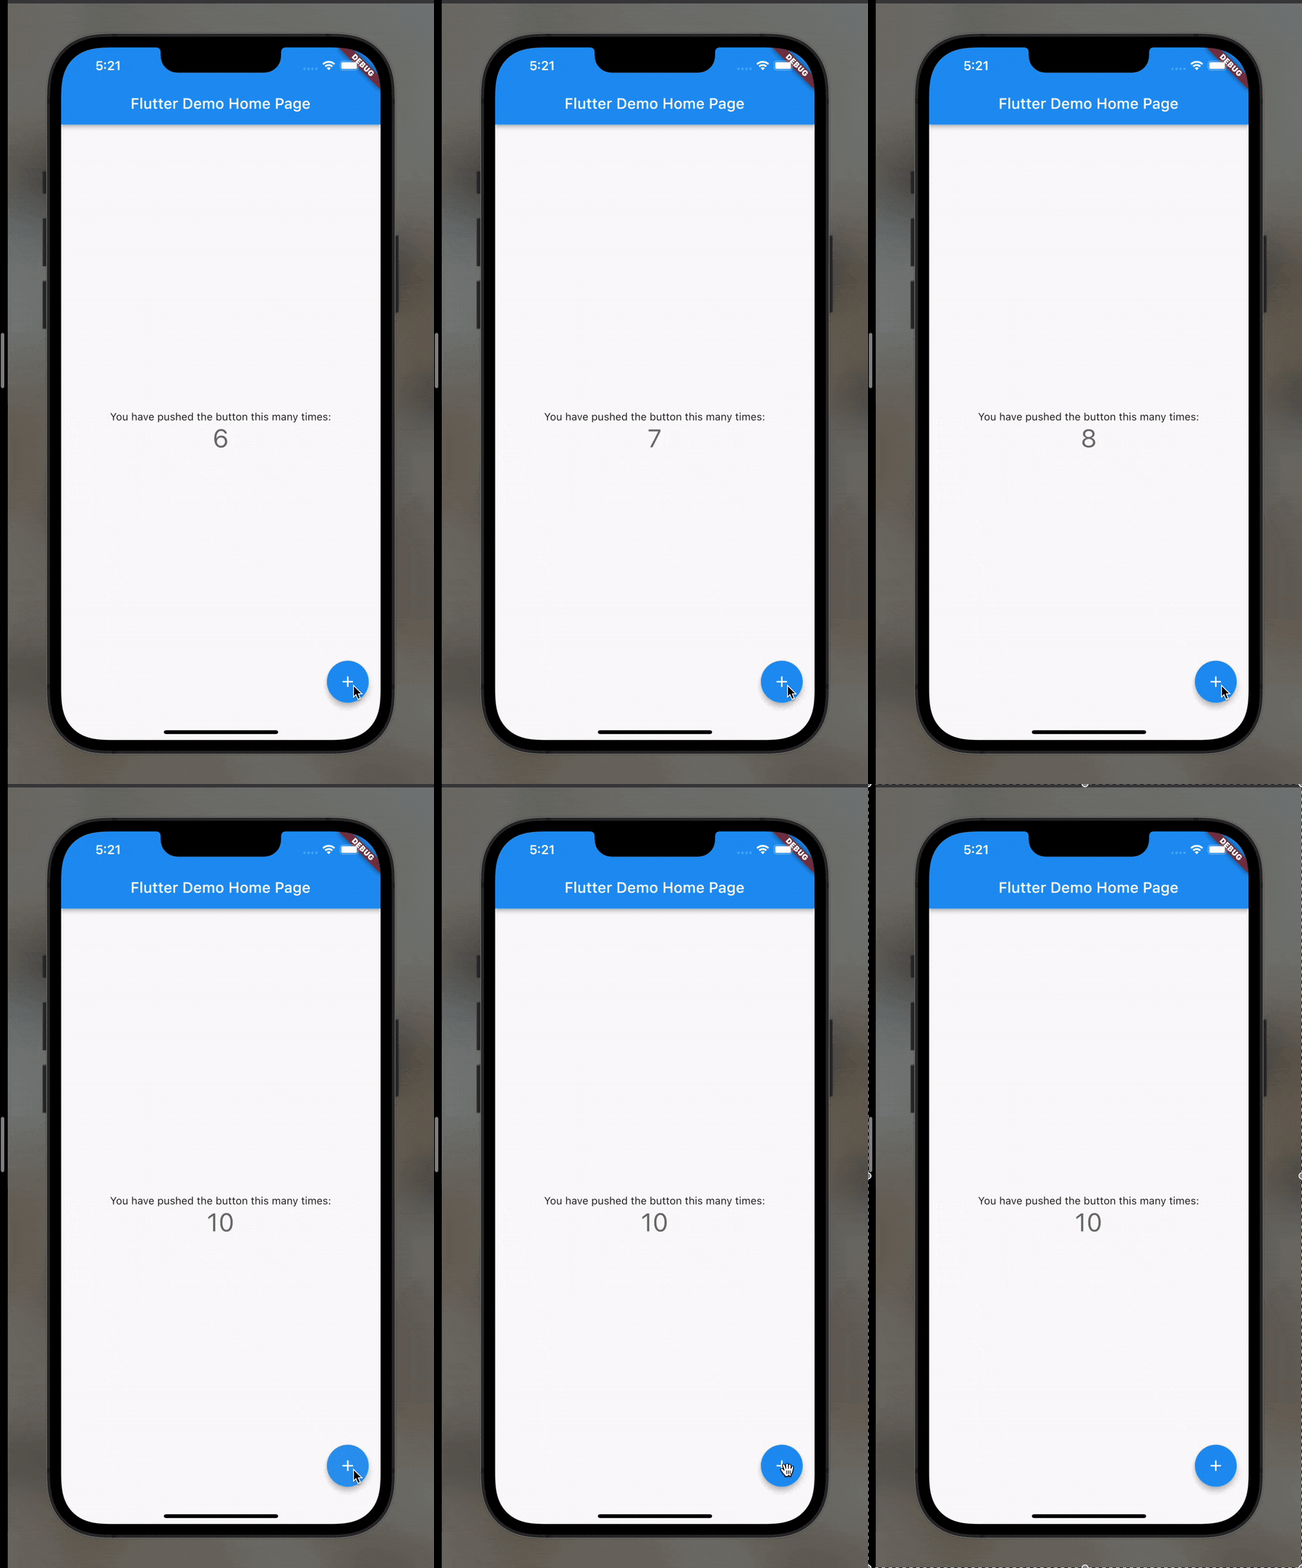
The objective of this app is simple. There's a button at the bottom of the page, which, when pushed, increases the number of its count.
Transforming Sample Code into Custom UI
As per the objective, I will make some changes to this app. I'm going to remove the Floating Action Button at the bottom and add the counter to an Elevated Button at the center of the screen. I told you, not a big deal.
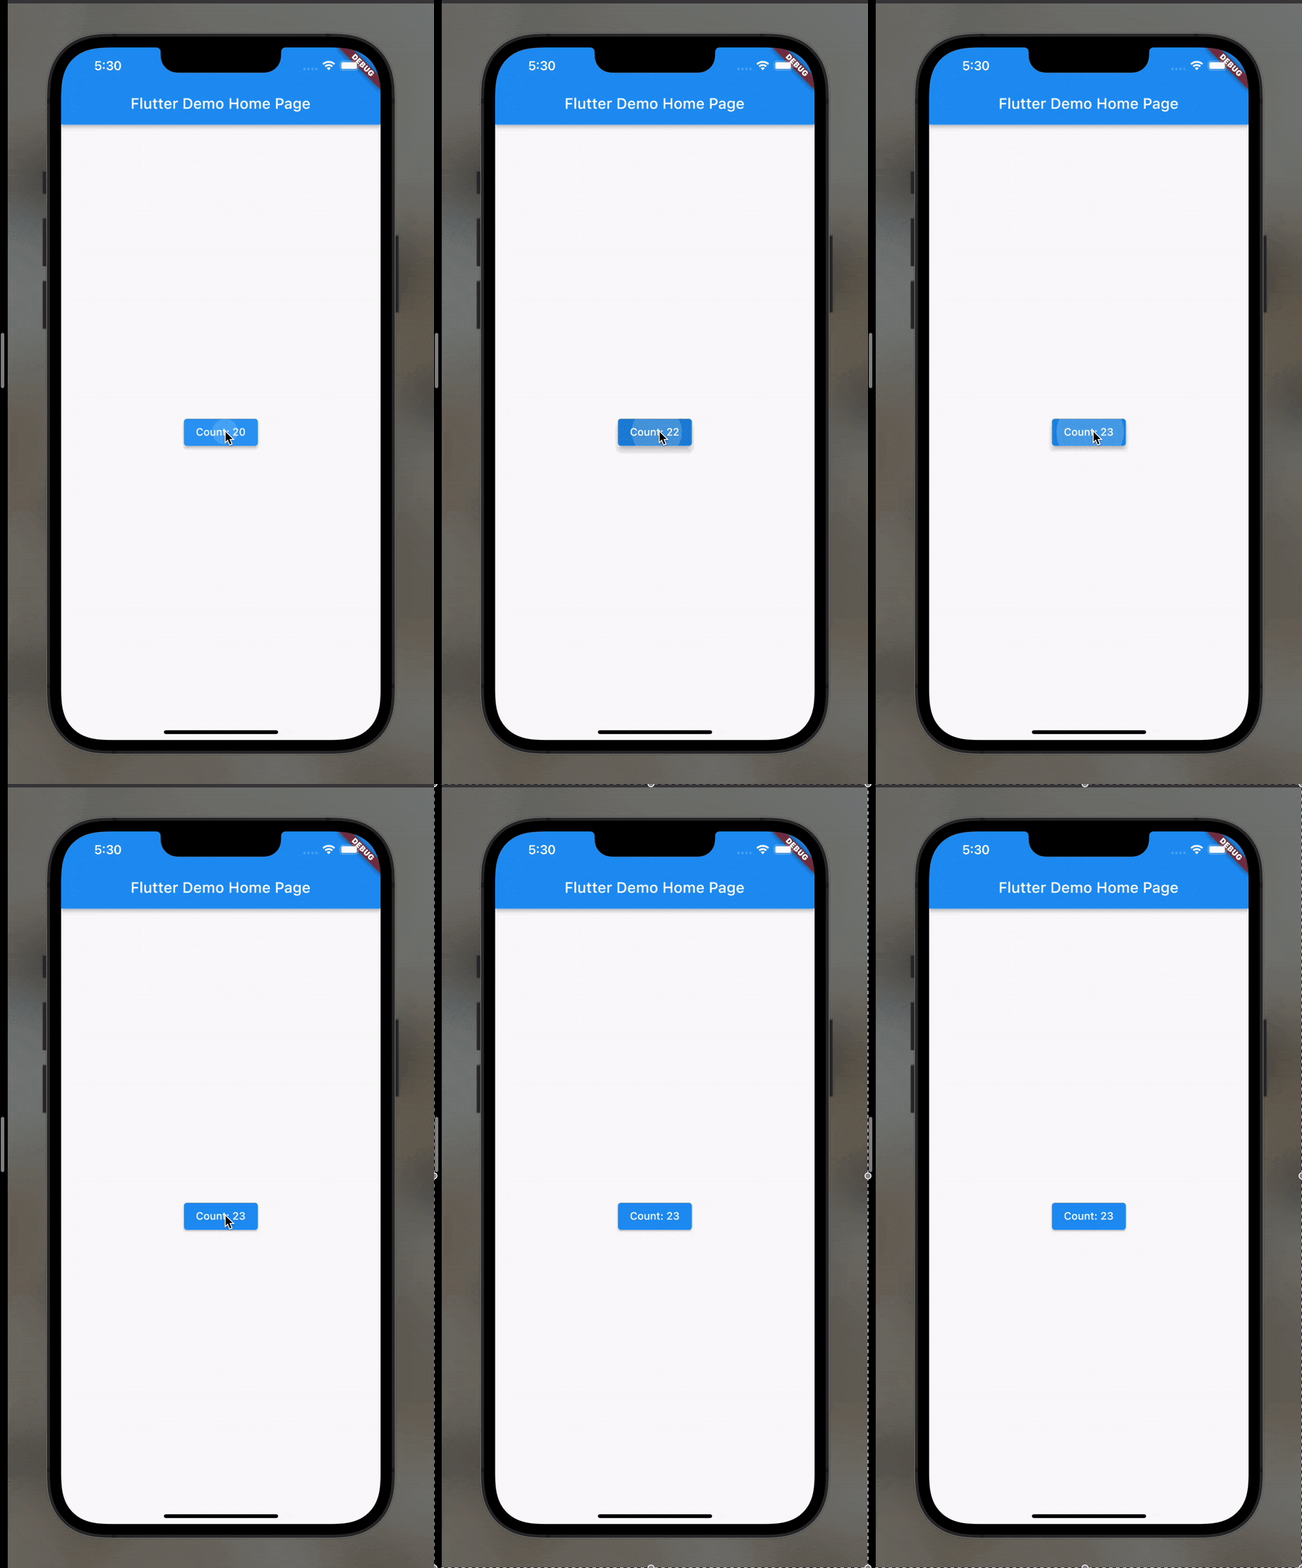
Done! That's it for today. Mission accomplished.

But...
I'm not done yet. The problem is I'm going to build a lot of projects through this journey, and I don't want to create project after project in Android Studio. Instead, I want to be able to add every single project to a single app.
So, I'm going to scale the app by adding routes and page navigations and, in the process, make it look pretty.

Adding Routes
Routes have to be the most flexible and essential aspect of Flutter - after widgets, of course! You don't want your UI to look clumped and have the user go into a rabbit hole with an infinite scroll. Adding navigation to your pages gives them a systematic flow and enhances UX to a considerable degree.
From adding a clickable button to building a basic mobile app, I've come a long way already on Day 1. So proud!

This app has a Homepage with links to the Sample Code Project and Day 1 Project. The Homepage has potential because I can do loads of design things here, but for today, I'm going to keep it simple with just two Elevated Buttons, which, on clicking, will take me to their respective projects.
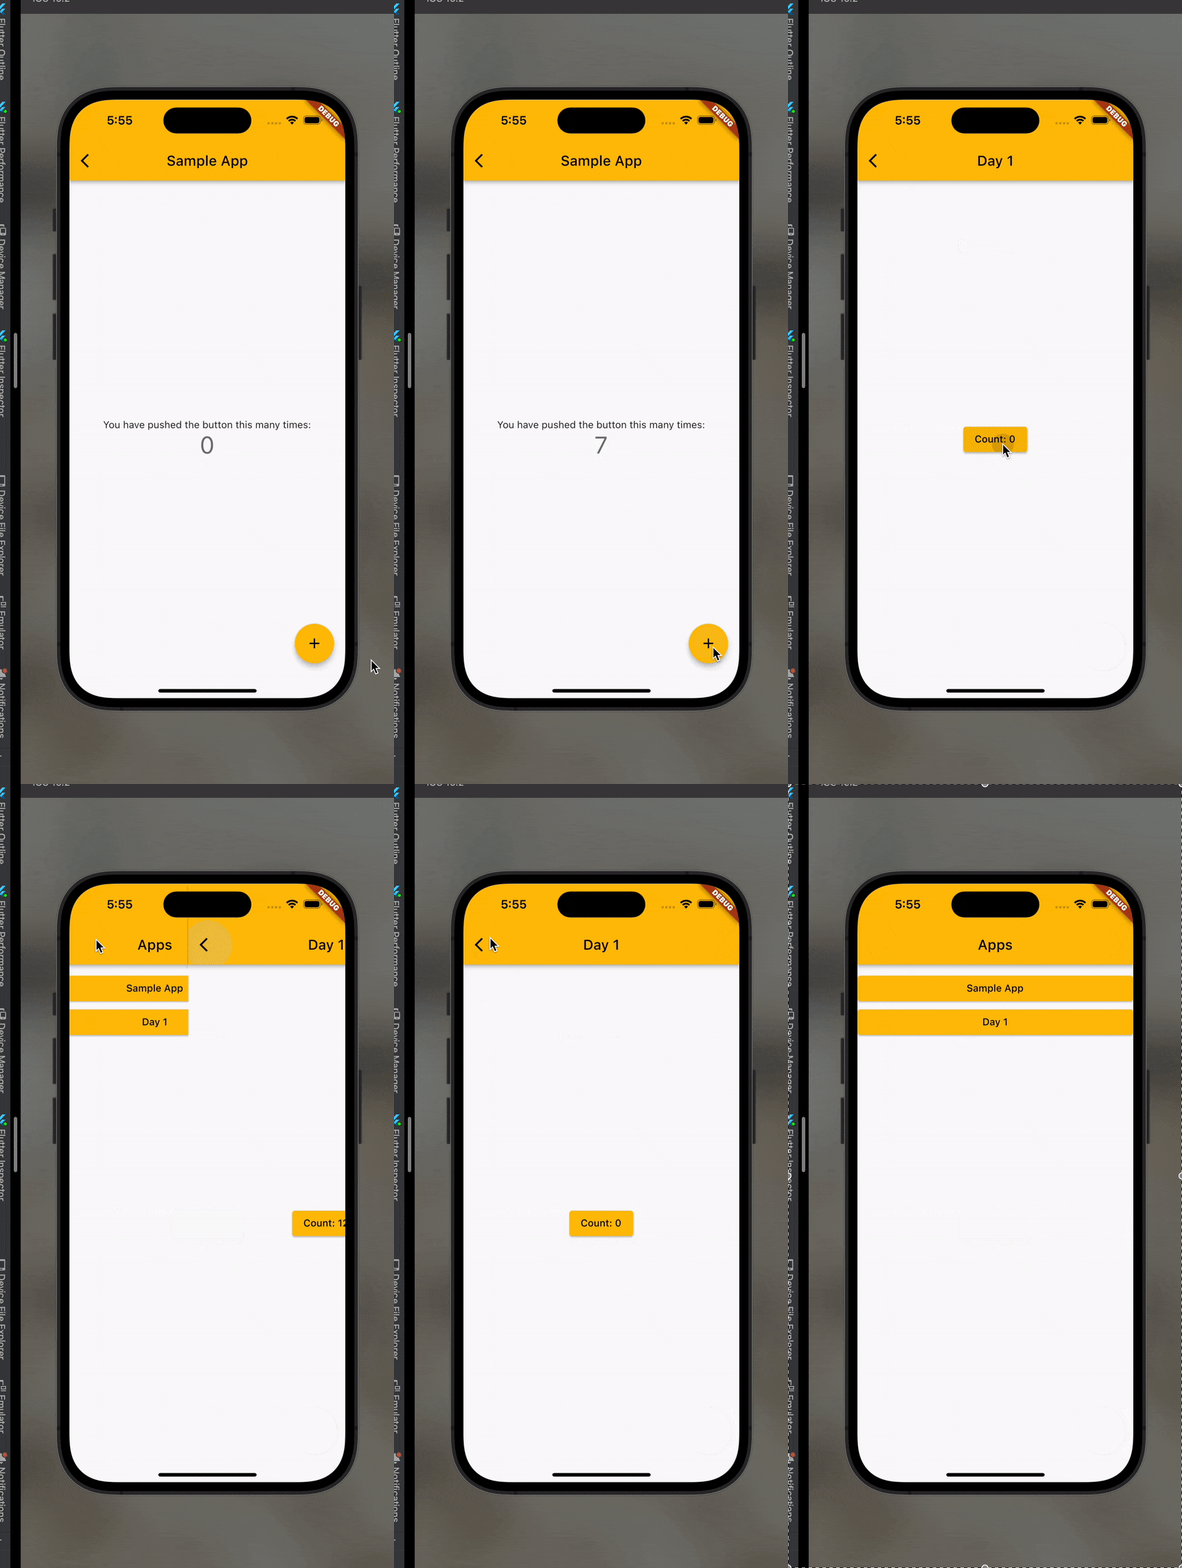
So, these are now two separate projects within one app with the same theme. These two projects will reflect any changes I make to the main theme. The only drawback (or something I haven't figured out yet) is that the state refreshes every time I come to the app, and the counter starts from 0 again. I'm curious about that, and I'll pick it up soon.
I'm not sure what to call the app, the sample code project and the day 1 project, so I appreciate any names you can throw my way.

Done. What next?
Two things to do in addition to tomorrow's lesson are:
Be creative with the design on the homepage
Figure out the state
I don't know what tomorrow's going to bring, but I'm excited to learn, do more and push myself.

Upwards and onwards to Day 2! 🚀
Thanks for reading :)
