Day 2 of #100DaysOfCode with Flutter
App with In-Built Navigations + Importance of Bundle ID

Going to come back to this when things happen. But for now, I'm here to share my #100DaysOfCode journey
Hello! It's been a while since Day 1 - all thanks to the many hats I wear at work and other distractions I indulge in, in my free time, but here I am back to learning Flutter.

The more I code, the more I find the need to follow a results-oriented approach to learning. Fireship's content is 🔥 and helps me align my learning with my goals. As I mentioned in my retrospective article, this year is all about building with purpose, no matter how insignificant it may appear in the short term.
So, my purpose for this round of the challenge is to use the day to build a complete skeleton of an app, start to end, with all proper navigations. Then, embellishments, feature flows and other details will be handled on subsequent days. This way, I won't go on coding hoping I'll get there (wherever that might be), but I'll know where I'm going and strive each day to make the journey to my destination beautiful.

On that note,
D2 Objective: Build the skeleton of an app with in-built navigations
The app will be called Basic Flutter and have different layouts on each internal screen. I'm thinking of adding a Bottom Navigation bar and working with various widgets and animations over the next few days.
The flow of today's project is as follows:
Get the Bottom Navigation Bar ready
Establish routes for navigation within the app
Add elements to Homepage (the first page)
Bottom Nav Bar
Bottom Navigation Bar, in my opinion, has to be one of the best navigators out there. I prefer it over drawers and other navigation bars. And Flutter has done a tremendous job making it easy to build one.
I'm thinking of adding 6 items to the bottom navigation bar for the Basic Flutter app. These 6 items will point to the respective pages where I'll play with different layout widgets such as alignment, icons, stacks, horizontal and vertical scroll and a counter method. The default BottomNavigationBar class takes only 3 items and spaces them evenly on the bottom. To add more items, I had to use type: BottomNavigationBarType.fixed and see how beautiful it looks!

Routes for Navigation
The next step is adding routes to navigate these 6 pages on the bottom navigation bar. Rather than adding all the routes in the same code, I will organize my folder and add multiple dart files for easy access and better code readability.
To add routes to the bottom navigation bar, I used a switch case and Navigator.of(context).push(MaterialPageRoute) to specify the exact page I want to navigate to.
Homepage
I want the Homepage to describe what the Basic Flutter app does. So, I will keep it simple and use Text widgets to describe each page briefly.
I want to place these text widgets in the center of the screen, and rather than using padding to align them, I want to put them inside a SizedBox with fixed dimensions. So, I'm wrapping these text widgets in a Column widget which is further wrapped inside a SizedBoxwidget, which is then wrapped inside a Center widget. This gives the whole page an excellent structure and flow.
I'm using a Column widget to lay the text widgets out. A column widget, by default, is not scrollable. To make it scrollable, you have to wrap it inside a SingleChildScrollView widget.
I want to place the text widget in the center with fixed dimensions. So, I will be using multiple text widgets that wrapped inside a SizedBox widget with specific dimensions, which is further wrapped inside a Center widget.
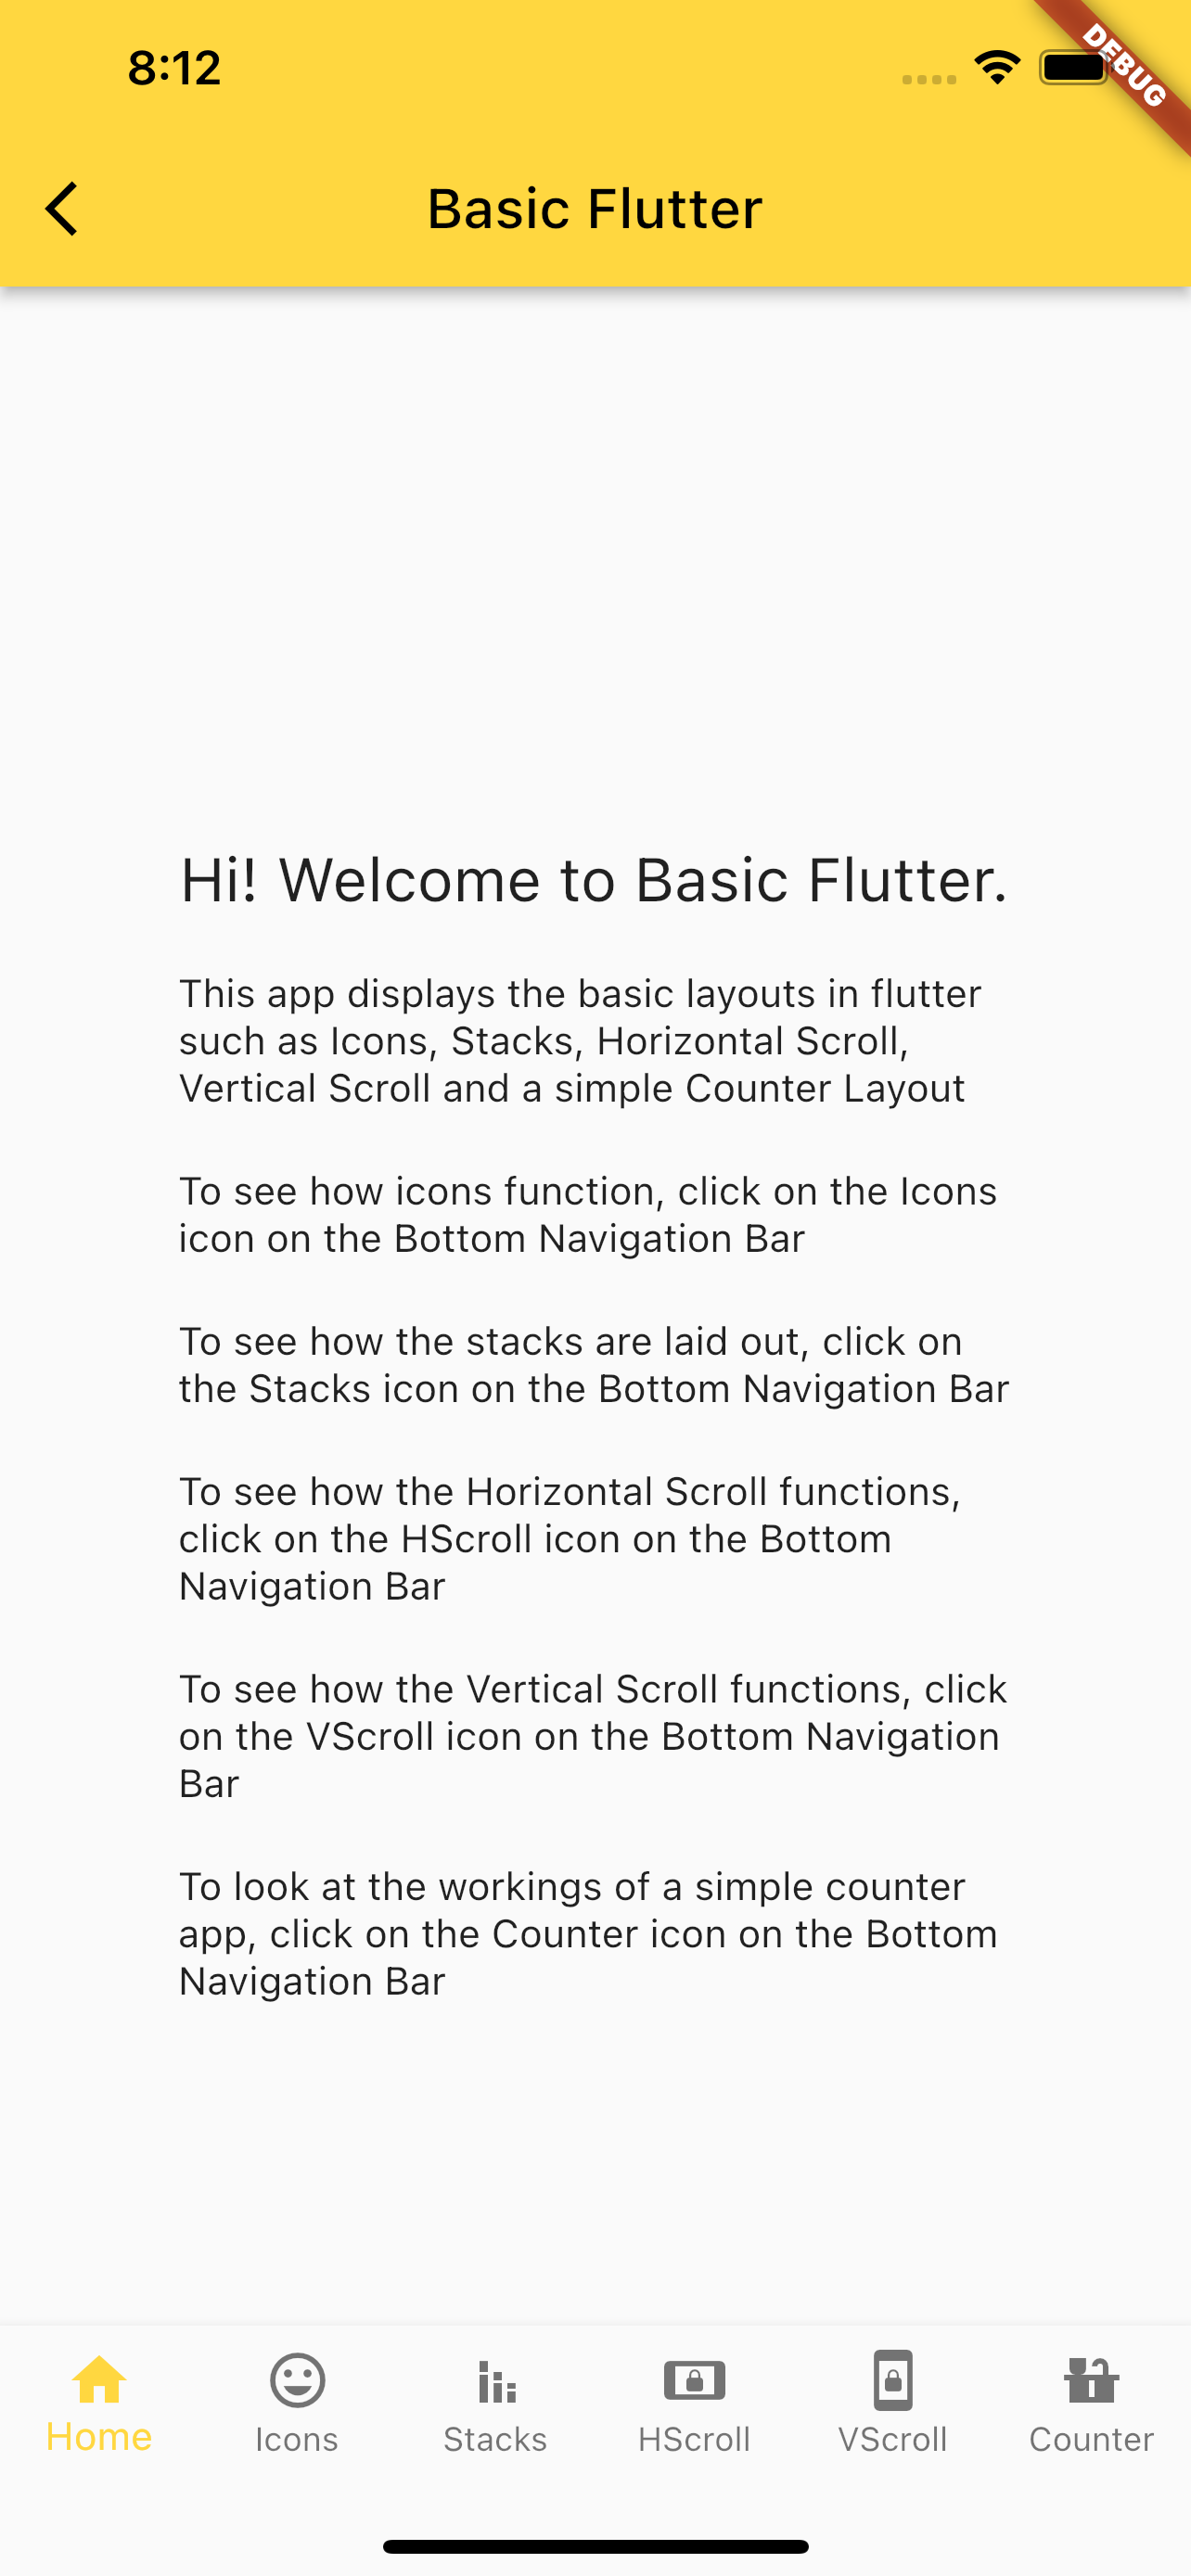
But this is too bland. I want to highlight the words Icons, Stacks, HScroll, VScroll and Counter. Normal Text widgets can't do in-line styling. For that, I'll need to use Text.rich widget and TextSpan widget, which is like <span> in HTML. I can add numerous children to TextSpan widgets and style them to my heart's desire.

I really like how the app looks. It is neatly laid out and is easy on the eyes.
Is It Done Already? Nope!
So, on Day 1, I wanted to be creative with the design on the Homepage of the main app, and since I don't really have time to brainstorm that particular project, I'm committing to iterating the design as and when I get some ideas. Luckily, I had the idea to play around with the themes of the pages and made some changes to the app.
The overall theme colour of the app, i.e., primarySwatch is amber, and it is defined in my main.dart file. I want to have different colours across the other projects I'm building. To do that, I stumbled upon a neat trick - rather than returning Scaffold in each of the projects, I'm returning MaterialApp and adding colour there through ThemeData.
So, now Sample data has a theme colour of blueGrey; Day 1 has a theme colour of blue, Basic Flutter has a theme colour of brown and Day 3, too, has a theme colour of brown.
It was fun, I like how the entire app looks now, and I had a great time working on today's objective.
Bonus: Bundle ID
While figuring out my objective for today, I stumbled upon something called the Bundle ID and did a bit of reading on the same.
Bundle ID is a unique identifier used in iOS and Android to identify your apps on those platforms. Since you ultimately will deploy your apps to the App Store or the Play Store, it helps to have a Bundle ID in mind before you start building your app.
The Bundle ID is formatted in a reverse domain name in the format com.nameofpackage.appname (For example, com.dikshabathula.day1). To do this, we can do a flutter create --org com.nameofpackage.appname , and Flutter will take care of the rest.
I didn't know this before, so I named my project as day 1. Since I'm adding all the projects of this challenge under one project, I wanted to change the name of my project and have that reflected in the Bundle ID. But after going down a rabbit hole, I realized that it is not that easy and found that I can change it when deploying the app to iOS and Android.
For Android, I'd have to change the android:label in the android/app/src/main/AndroidManifest.xml.
For iOS, I'd have to change the CFBundleName in the ios/Runner/Info.plist.
No biggie, but just when I thought I would keep this in mind for future reference, I broke something in my app.
Errors. WHY!?

I don't know what I broke, but the app won't run. My go-to when things don't make sense is to run flutter upgrade, pub upgrade and pub get and these usually solve things. But no matter how many times I did that, nothing happened.
And so, I decided to create a new project and transport my existing code there. Since I only had two files in the project, it wasn't much of a big deal, and I was able to get it done quickly. I shudder even to think if this happened with hundreds of files.

I consider myself lucky in that regard, and hopefully, the error will fix itself like it usually does on restart or pub get. Anyway, the cherry on the cake is that I got to apply what I learned about Bundle ID here and created a project that matched the default bundle id format. The app's name is now h100dayscode which is a good enough app name, me thinks!
Done. What's Next?
Now that Day 2 is successful and, honestly, a real piece of work for the brain, I will take the next few days slow and build the Basic Flutter app. I will also figure out the state, as specified in the Day 1 article, through the process.
I'm excited to make this app look very pretty and, in the process, dive deeper and learn loads.
Oh, by the way, I also received a certificate from Fireship for finishing a module. Yay!

All in all, a great day! Thank you for reading :)

